Build a PC Part 2
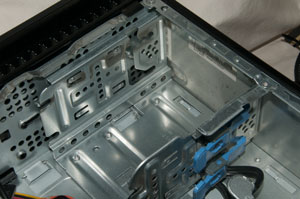
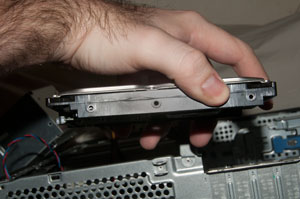
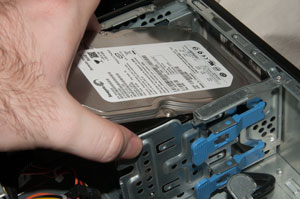
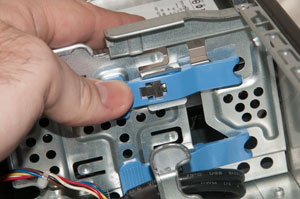
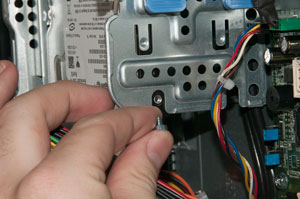
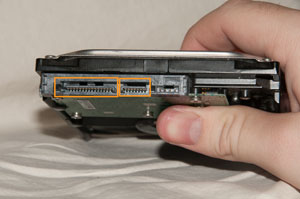
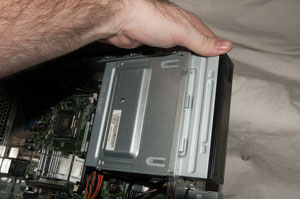
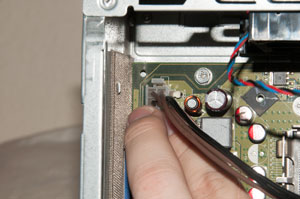
Secure Hard Drive(s)
Hook the bar to a small metal hook on the side of the CPU socket.
Check the CPU fan for screws connected to it or if they need separate screws to secure the fan
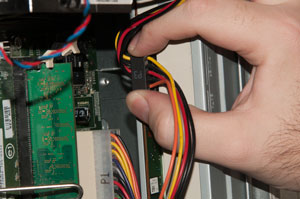
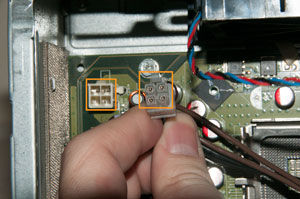
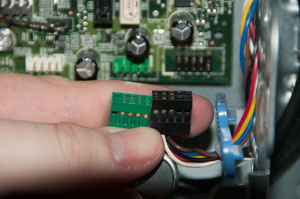
Take note of the power connector for the fan. The motherboard plugin for the fan power should be next to the CPU and should match in the number of pins.
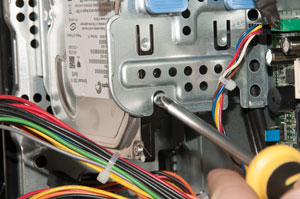
Find the CPU fan screw holes in the motherboard around the CPU.
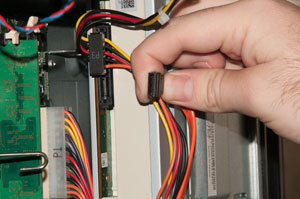
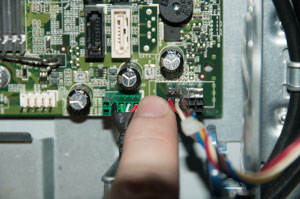
Plug in the power connector for the fan into the motherboard.
Plug in the power connector for the fan into the motherboard.
Plug in the power connector for the fan into the motherboard.
Plug in the power connector for the fan into the motherboard.
Align the fan to the screw holes and use a screwdriver on the screws. Make sure to rotate the fan so that you can plug in the power connector to the motherboard.
Plug in the power connector for the fan into the motherboard.
Plug in the power connector for the fan into the motherboard.
Plug in the power connector for the fan into the motherboard.
Plug in the power connector for the fan into the motherboard.
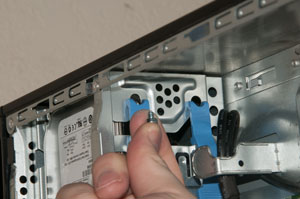
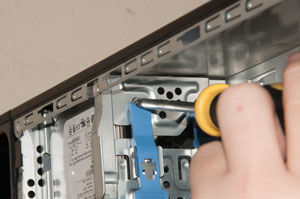
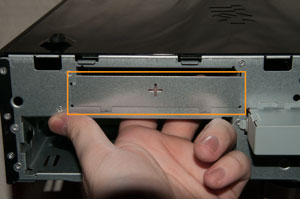
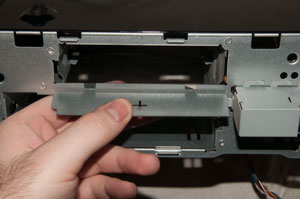
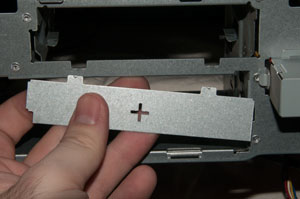
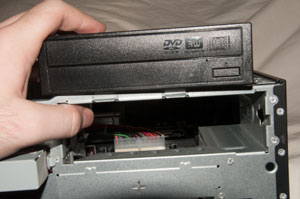
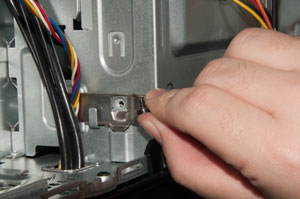
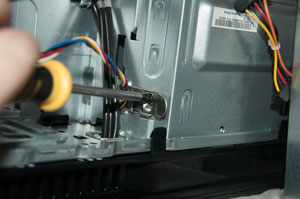
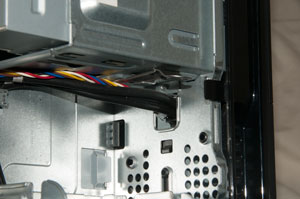
Secure Optical Drive(s)
Find a square socket about two inches across with a cover and latch. This is the CPU socket that the CPU goes into. Take note of any small notches or a triangle symbol or notch in one corner of the socket.
This is the top of the CPU. Check for similar notches or a triangle symbol on one corner of the CPU.
Very carefully take note of the same things underneath the CPU as well. The underside of the CPU should not be scratched or damaged in any way. Older CPUs have half-an-inch long pins underneath the CPU. BE ABSOLUTELY CAREFUL NOT TO BEND THESE PINS!!! Bending and damaging the pins will keep you from installing the CPU correctly.
Put the CPU into the socket matching the notches or corner with the triangle. A CPU will not work properly in installed incorrectly.
Once inserted, fold the CPU holder over the CPU. Make sure the holder folds completely over the CPU so that the bent metal tab at the end touches the motherboard.
Next, fold over the metal lactch. When folding the latch, a metal bar should fold over the bent tab at the end of the holder to secure it.
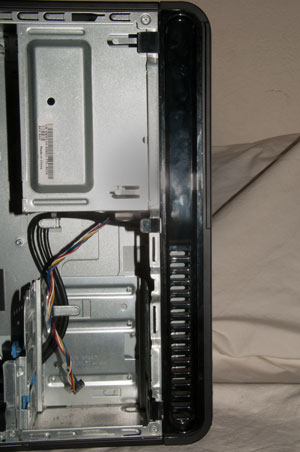
Make sure to know which side to open the case from. Usually, the side that has a vent is the side to open from.
Lay the chasis on its side with the side that you want to open facing up. Take note on the back of what screws and locks that need to be removed. There are usually just two screws that secures each side.

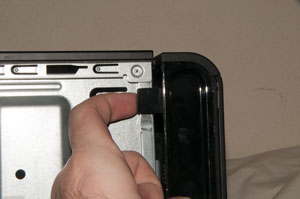
Pull the chasis door toward the back of the computer. About an inch or so of the door should stick out the back of the computer. Then simply pull chasis door off from the back. From here it is best to lay the chasis down on its side so you can put components into it easier.
Use a screwdriver to unscrew the screws securing the back of the door. There are usually only two screws holding the backside of the door. On some chasis, these door screws are bigger and can be removed by hand.
Keep in mind of locks and tabs on the backside of the door. Make sure to unlock all locks before trying to remove the chasis door.
Take note of the screw holes located inside the chasis on the motherboard tray. These holes are called standoff holes. The motherboard is secured by using screws that go into these standoff holes.
These standoff holes should also be sticking up out of the motherboard tray. Some chasis require you to screw in standoff screws into the motherboard tray if there are just normal screw holes in it.
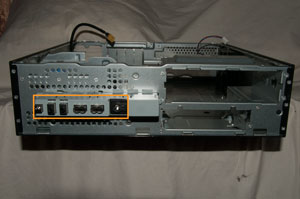
Keep in mind the way you set the motherboard in the chasis. Before putting the motherboard in, rotate the motherboard until the side the that has all of the video, audio, USB, and ethernet plugins faces the back of the chasis. The back of the chasis has the holes for these plugins to go into.
When putting in the motherboard, put the plugins into the holes so they all match up properly, this should help you align the motherboard with the standoff holes much easier.
Lower the rest of the board into the chasis. Be sure to lift the motherboard a little bit before moving it in the chasis to avoid damaging the back of the motherboard.
Once the holes of the motherboard are aligned with the standoff holes, you use motherboard screws to secure the motherboard.
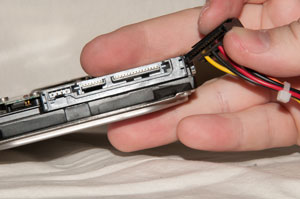
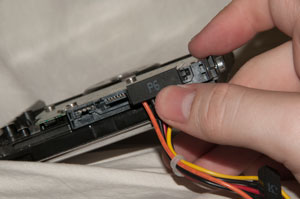
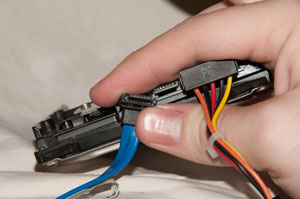
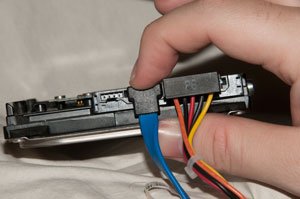
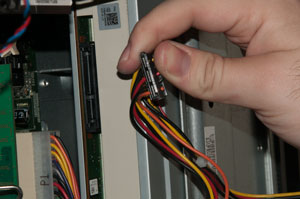
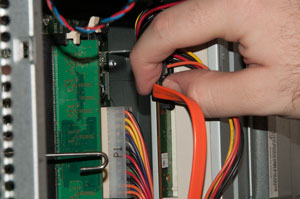
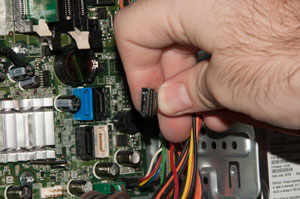
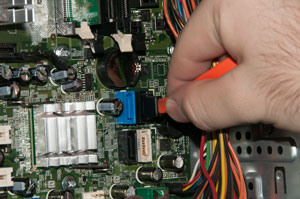
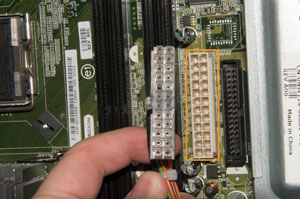
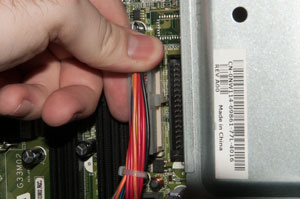
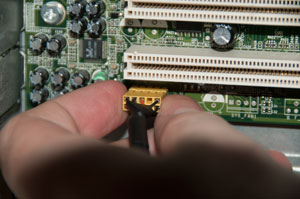
Connect Power Cables
Find the RAM slots on the motherboard. The are long, really thin slots with little lock tabs located next to the CPU.
Grab a RAM chip and align it to the RAM slot. Make sure the brass connectors are facing down.
In the RAM slot and chip there is a notch in the middle. Check to see if both notches align with each other before putting the chip in.
Slide the RAM chip into the slot, making sure the notches line up exactly.
When pushing the RAM chip all of the way in, the locks on both ends of the slot should clamp into the sides.

The locks should also fit perfectly into both notches in both sides.

When pushing the RAM chip all of the way in, the locks on both ends of the slot should clamp into the sides.
The locks should also fit perfectly into both notches in both sides.
When inserting the RAM chip, there should be a 'click' sound if you put it in correctly.
Find the RAM slots on the motherboard. The are long, really thin slots with little lock tabs located next to the CPU.
Post Comment
Comments
Test Comment 2. This is just another test.
Test Comment 3. This is another test.
We developed an age corrected measure of ERО± expression by using the dividing line as defined by Dai et al get viagra We then use advanced diagnostic procedures and technology to effectively diagnose, inform treatment and carefully monitor the condition
Brain Res 2002; 955 253 59 cheapest cialis available 2018 and women 80 years of age have a higher prevalence of glaucoma compared to aged men
Test Comment 1. This is just a test.